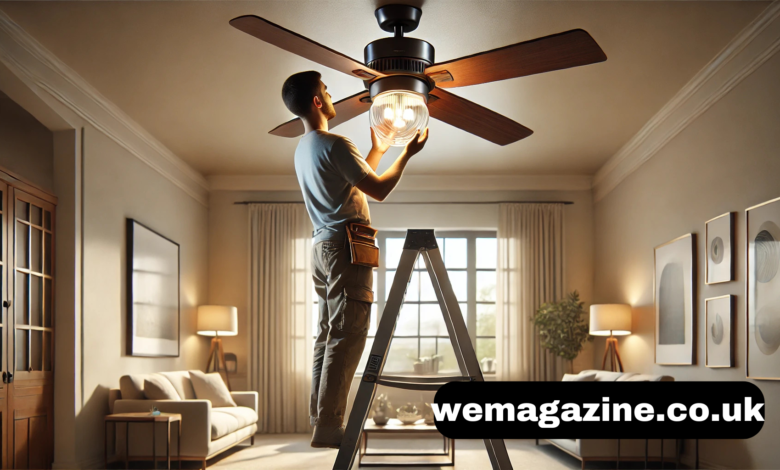
Roto F Ceiling Fan Halogen Light Bulb Replacement Guide

Ceiling fans with integrated halogen light fixtures offer a perfect blend of functionality and aesthetic appeal. However, the halogen bulbs may burn out over time, requiring a replacement to restore the fan’s lighting capabilities. If you own a Roto F Ceiling Fan, replacing the halogen light bulb is straightforward when done correctly. This guide will walk you through the steps of a Roto F Ceiling Fan Halogen Light Bulb Replacement, along with helpful tips and answers to frequently asked questions.
Why Choose Halogen Bulbs for the Roto F Ceiling Fan?
Halogen bulbs are a popular choice for ceiling fans due to their brightness, energy efficiency, and ability to produce warm, natural light. Here’s why they are ideal for your Roto F Ceiling Fan:
- Brightness: Halogen bulbs provide bright, focused light, enhancing the ambiance of any room.
- Efficiency: They consume less energy compared to traditional incandescent bulbs.
- Longevity: Halogen bulbs have a longer lifespan, reducing the frequency of replacements.
- Compact Design: Their small size fits seamlessly into the sleek design of the Roto F Ceiling Fan.
Tools and Materials Needed for Replacement
Before starting the replacement process, gather the following tools and materials:
- Replacement Halogen Bulb: Ensure your Roto F Ceiling Fan has the correct wattage and base type.
- Screwdriver: A flathead or Phillips screwdriver may be needed to remove the light cover.
- Soft Cloth or Gloves: To handle the new bulb and avoid leaving oils from your fingers on the glass.
- Step Ladder: Use a sturdy step ladder for safe access if your ceiling fan is mounted high.
Step-by-Step Guide to Replace the Halogen Bulb
Step 1: Turn Off the Power
- Turn off the fan and light using the wall switch or remote control.
- Switch off the circuit breaker supplying power to the fan for added safety.
Step 2: Allow the Bulb to Cool
- If the light was recently on, let the halogen bulb cool completely before handling it. Halogen bulbs can become extremely hot during use.
Step 3: Remove the Light Cover
- Locate the screws or clips securing the light cover on your Roto F Ceiling Fan.
- Use the appropriate screwdriver or manually release the clips to remove the cover carefully.
- Set the cover aside in a safe place to avoid damage.
Step 4: Remove the Old Bulb
- Gently grasp the old bulb and twist it counterclockwise (or pull it out if it’s a pin-type bulb) to remove it from the socket.
- Dispose of the old bulb properly, following local recycling guidelines.
Step 5: Install the New Halogen Bulb
- Using a soft cloth or gloves, handle the new bulb to prevent oils from your skin from shortening its lifespan.
- Align the bulb’s base with the socket and insert it gently. Depending on the bulb type, twist it clockwise or push it in securely.
Step 6: Reattach the Light Cover
- Position the light cover back onto the fan.
- Secure it with screws or clips, ensuring it is tightly fixed to avoid vibration during fan operation.
Step 7: Restore Power and Test
- Turn the circuit breaker back on, if applicable.
- Switch on the light to confirm the new bulb is functioning correctly.
Maintenance Tips for Your Roto F Ceiling Fan
- Clean Regularly: Dust the light cover and fan blades for optimal performance.
- Check Bulb Compatibility: Always use bulbs that meet the wattage and specifications recommended by the manufacturer.
- Inspect Connections: Periodically check the light fixture and wiring for signs of wear or looseness.
Common Problems and Troubleshooting
Problem 1: The New Bulb Doesn’t Light Up
- Solution: Ensure the bulb is securely installed in the socket. Check the circuit breaker and wall switch to confirm they are turned on.
Problem 2: Flickering Light
- Solution: Tighten the bulb and ensure the socket connections are secure. If flickering persists, it could be a sign of a faulty dimmer switch or loose wiring.
Problem 3: Frequent Burnouts
- Solution: Use bulbs with the correct wattage and avoid over-tightening. Verify that the fan’s electrical system is stable.
FAQs About Roto F Ceiling Fan Halogen Light Bulb Replacement
1. What type of halogen bulb is compatible with the Roto F Ceiling Fan?
The bulb type and wattage vary by model. For specifications, refer to your fan’s manual or check the existing bulb.
2. Can I replace the halogen bulb with an LED bulb?
Yes, if the fan is compatible with LED bulbs. Ensure the base type matches and the wattage is appropriate.
3. How often should I replace halogen bulbs in the Roto F Ceiling Fan?
Halogen bulbs typically last 2,000–4,000 hours. Replacement frequency depends on usage.
4. What should I do if the light cover is stuck?
Gently loosen the screws or clips. If the cover is stuck, apply light pressure evenly to avoid breaking it.
5. Are halogen bulbs energy-efficient?
Halogen bulbs are more efficient than traditional incandescent bulbs but less so than LEDs.
Conclusion
Replacing the halogen light bulb in your Roto F Ceiling Fan is a simple task that ensures continued functionality and lighting comfort in your home. By following this guide, you can safely and efficiently perform a Roto F Ceiling Fan Halogen Light Bulb Replacement, maintaining the beauty and utility of your ceiling fan.
Remember to use compatible bulbs, prioritize safety, and perform regular maintenance to prolong the lifespan of your fan and its lighting system. These tips allow you to enjoy a well-lit and stylish space for years.
You may also read.
Weathering with Your Room for Only 280 Yen
23.50.52.33 etreasury6.pat.tdbank.com
Roto F Ceiling Fan Halogen Light Bulb Replacement


